Install from Salesforce AppExchange
Navigate to the AppExchange listing
The Salesforce environment admin installs the application. Navigate to the Go Autonomous listing on Salesforce AppExchange and find Go Autonomous.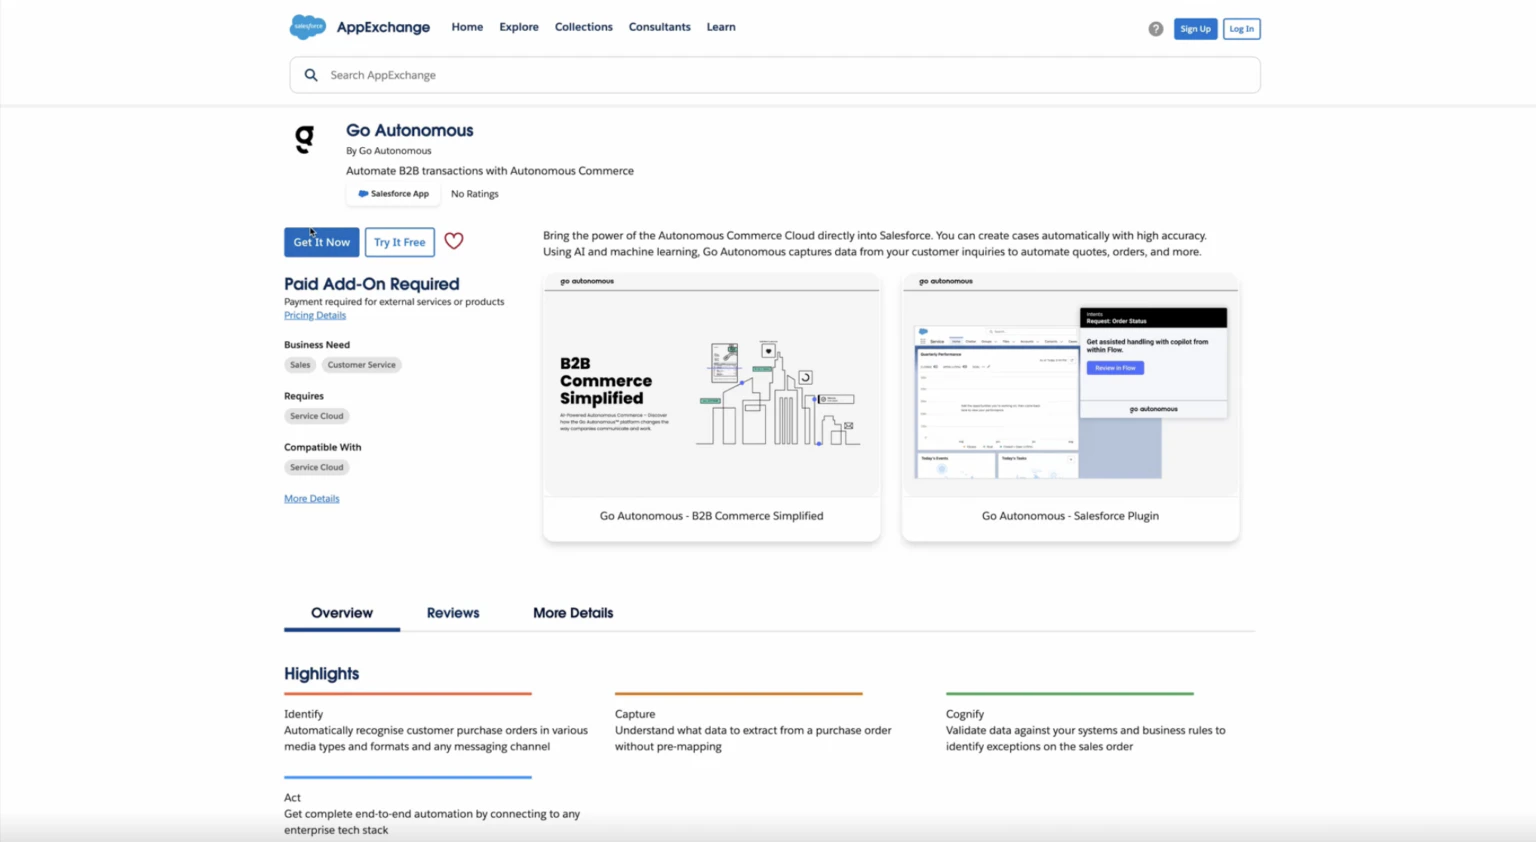
Select the environment
After pressing Get it Now, Salesforce will redirect you to a new tab where you select which environment to install into. If you are unsure, reach out to your Go Autonomous Customer Success Manager.
Set permissions for specific profiles
After confirming the environment and agreeing to the terms and conditions, you will be navigated to the Install Go Autonomous page. Select Install for Specific Profiles.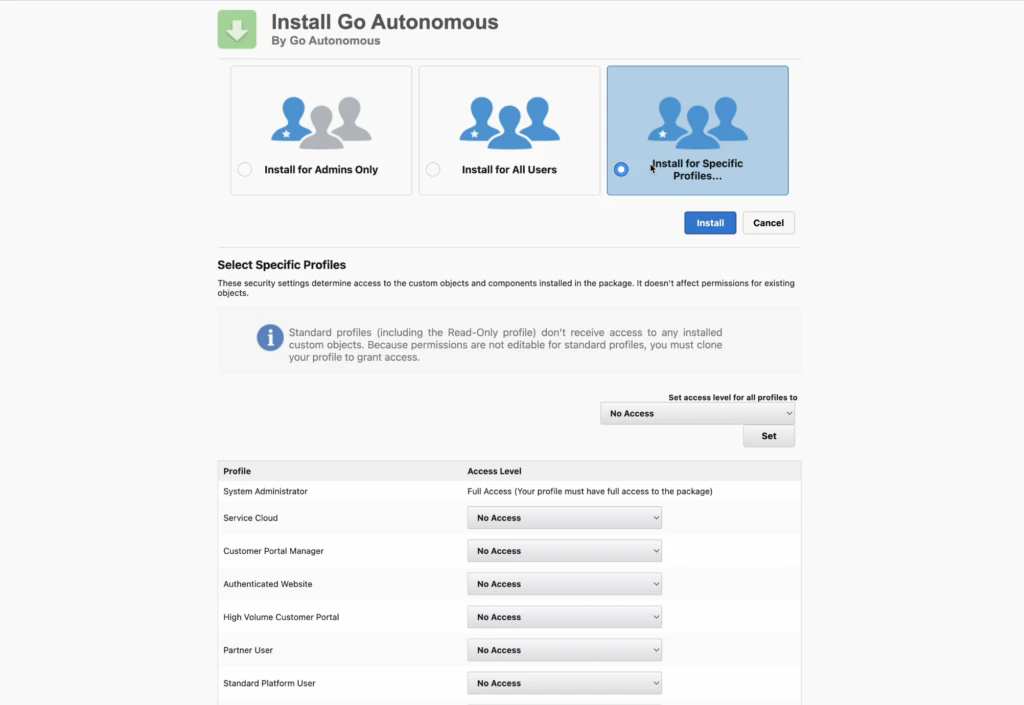
Assign the Go Autonomous API Only profile
Scroll through the profile list and set the following profiles to Go Autonomous API Only: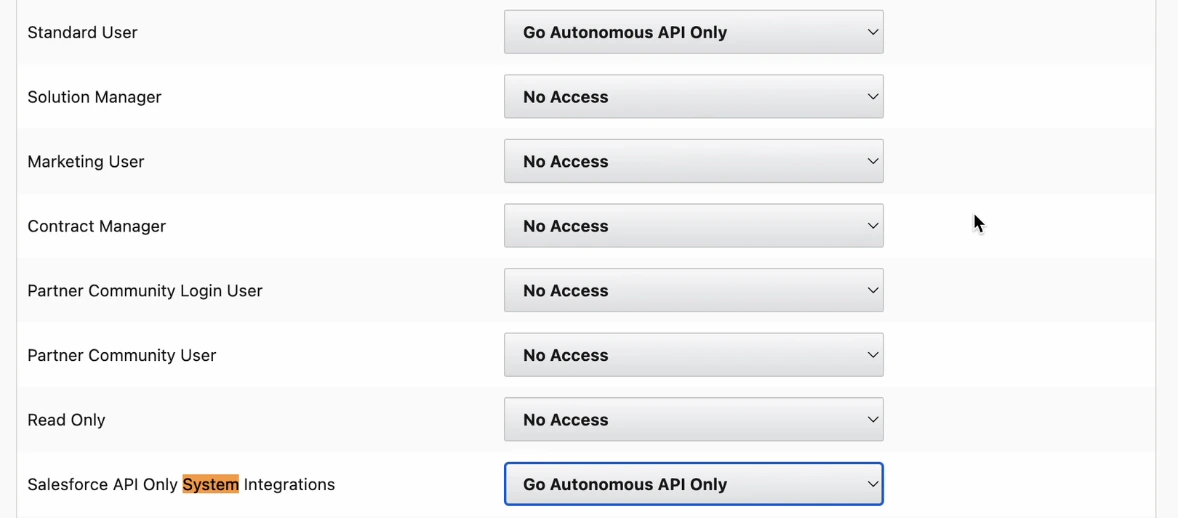
- Standard User
- Sales API Only System Integrations
Install the application
Scroll back to the top and press Install under the Install for Specific Profiles button.

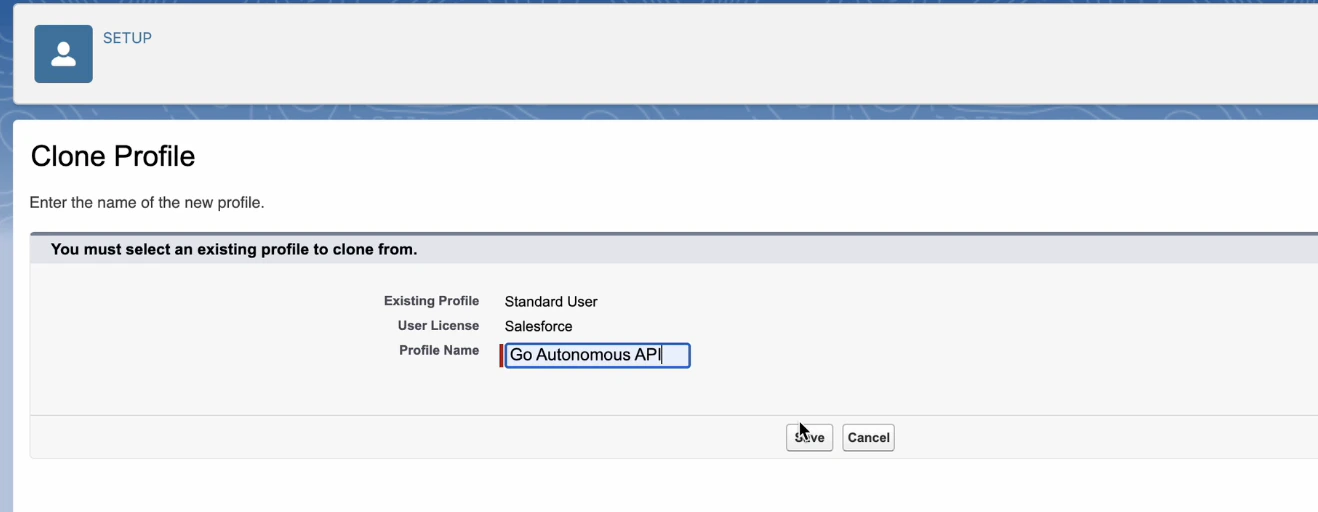
Create a profile and configure the user
Navigate to the Standard User Profile
In Salesforce Setup, use the left navigation pane to find Administration > Users > Profiles. Find Standard User in the profile list.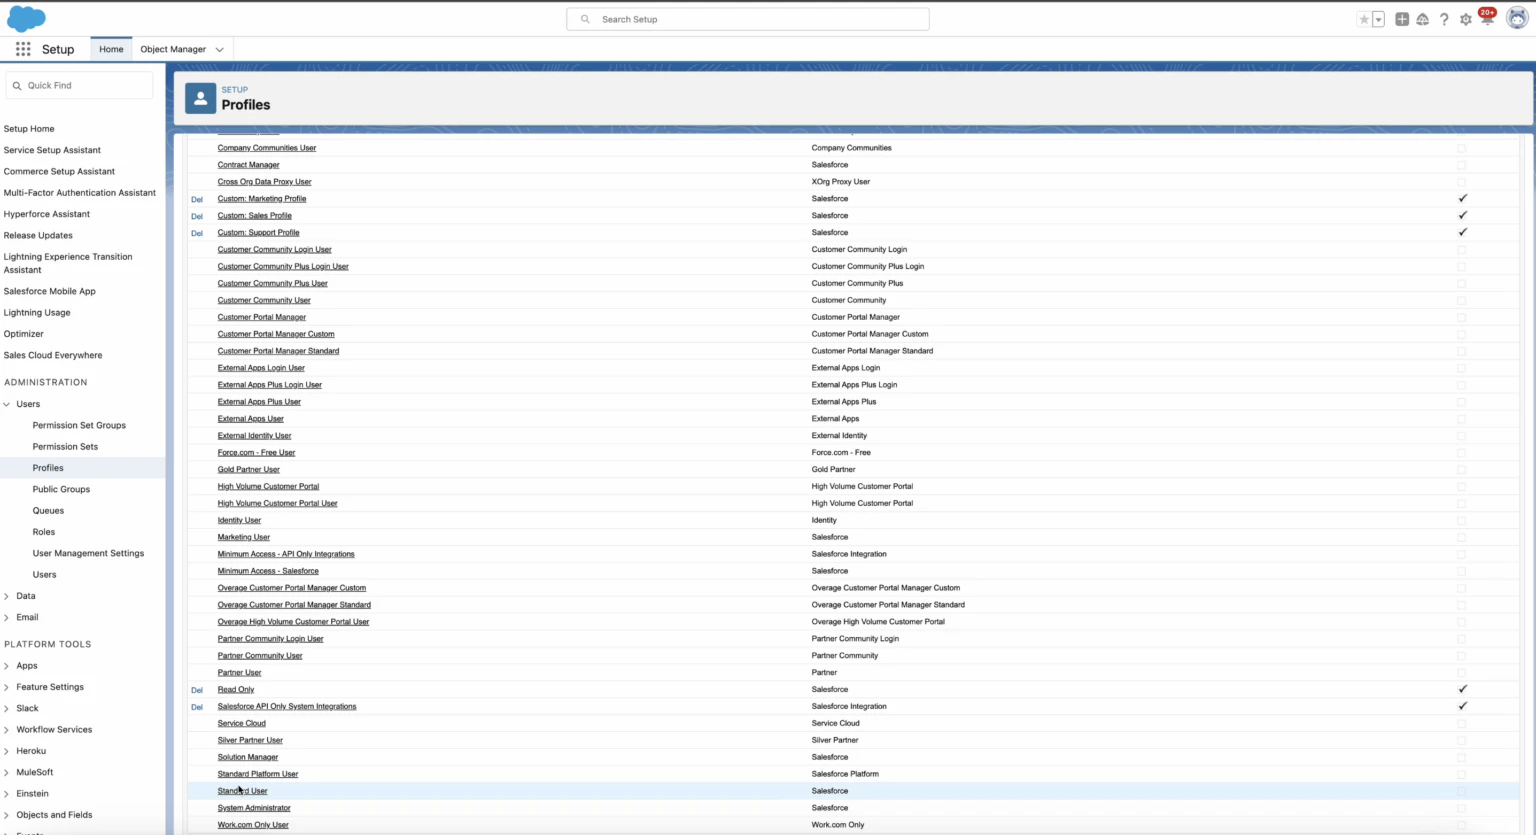
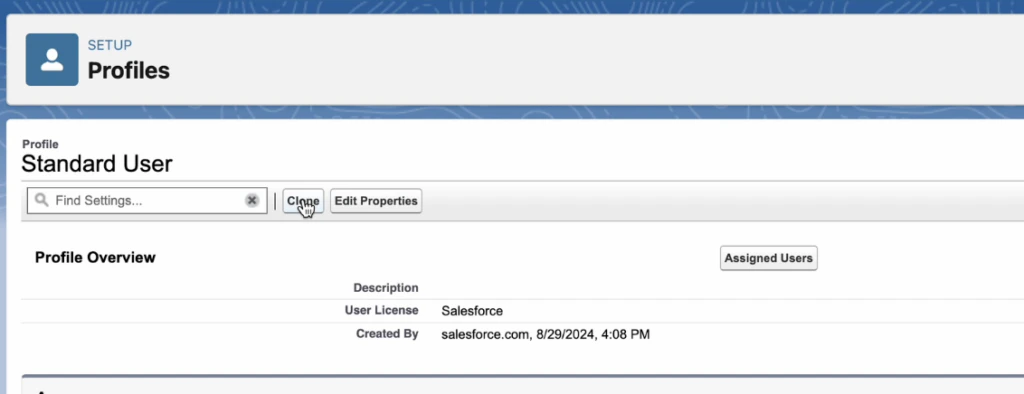
Configure profile permissions
Click Edit on the new profile and set the following permissions:Administrative permissions:
Save the profile once all permissions are configured.
- Access Libraries
- Apex REST Services
- API Enabled
- API Only User
- Edit Read Only Fields
- Select Files from Salesforce
- Assign Topics
- Create Topics
- Edit Tasks
- Edit Topics
| Object | Read | Create | Edit | View All |
|---|---|---|---|---|
| Accounts | ✓ | ✓ | ||
| Cases | ✓ | ✓ | ✓ | ✓ |
| Contacts | ✓ | ✓ | ||
| Customers | ✓ | ✓ | ||
| Documents | ✓ | ✓ | ✓ | ✓ |
Enable Go Autonomous in Connected App Access
After clicking Edit on the Profiles page, enable Go Autonomous and Go Autonomous Flow in the Connected App Access section.
Create a new user
From the Profiles page, navigate to Users > Users in the left pane and press New User.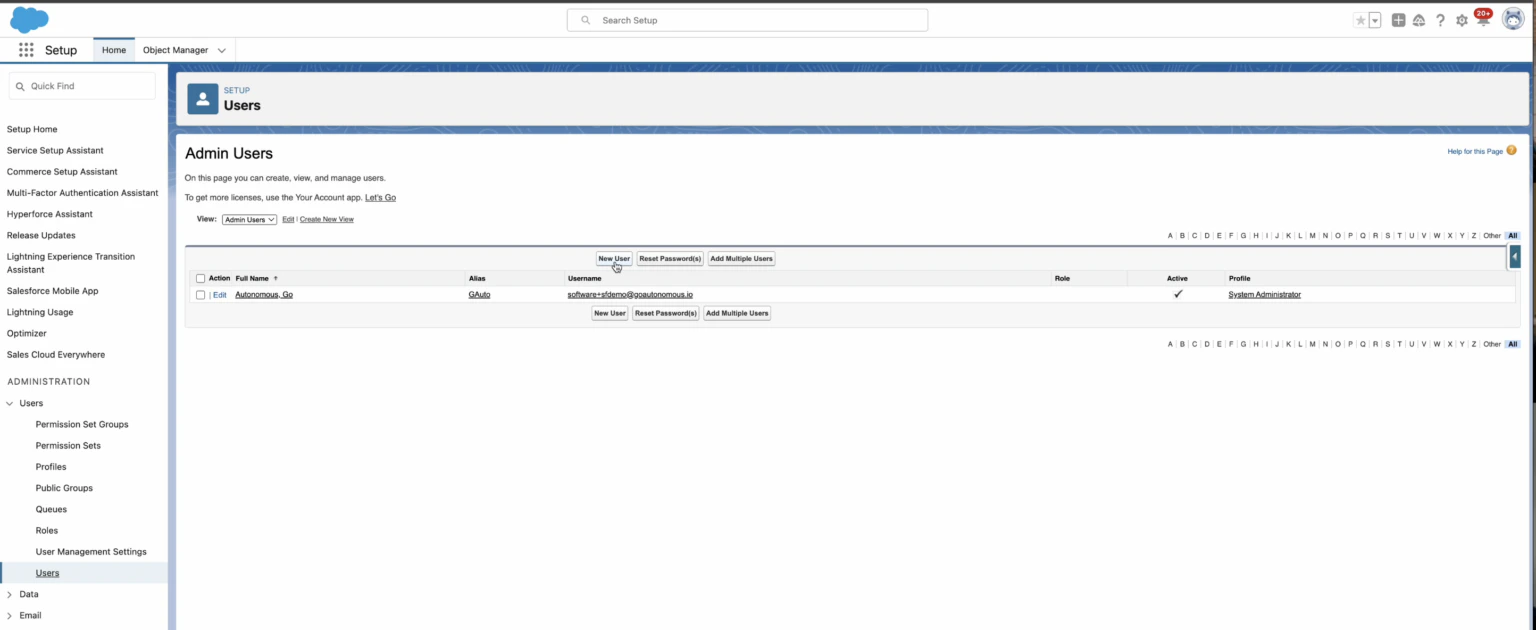
Configure the new user
Set User License to Salesforce and Profile to Go Autonomous API. Fill in the required fields: Last Name, Alias, Email, Username, and Nickname. Set the Locale and Language fields to match your primary location, then save.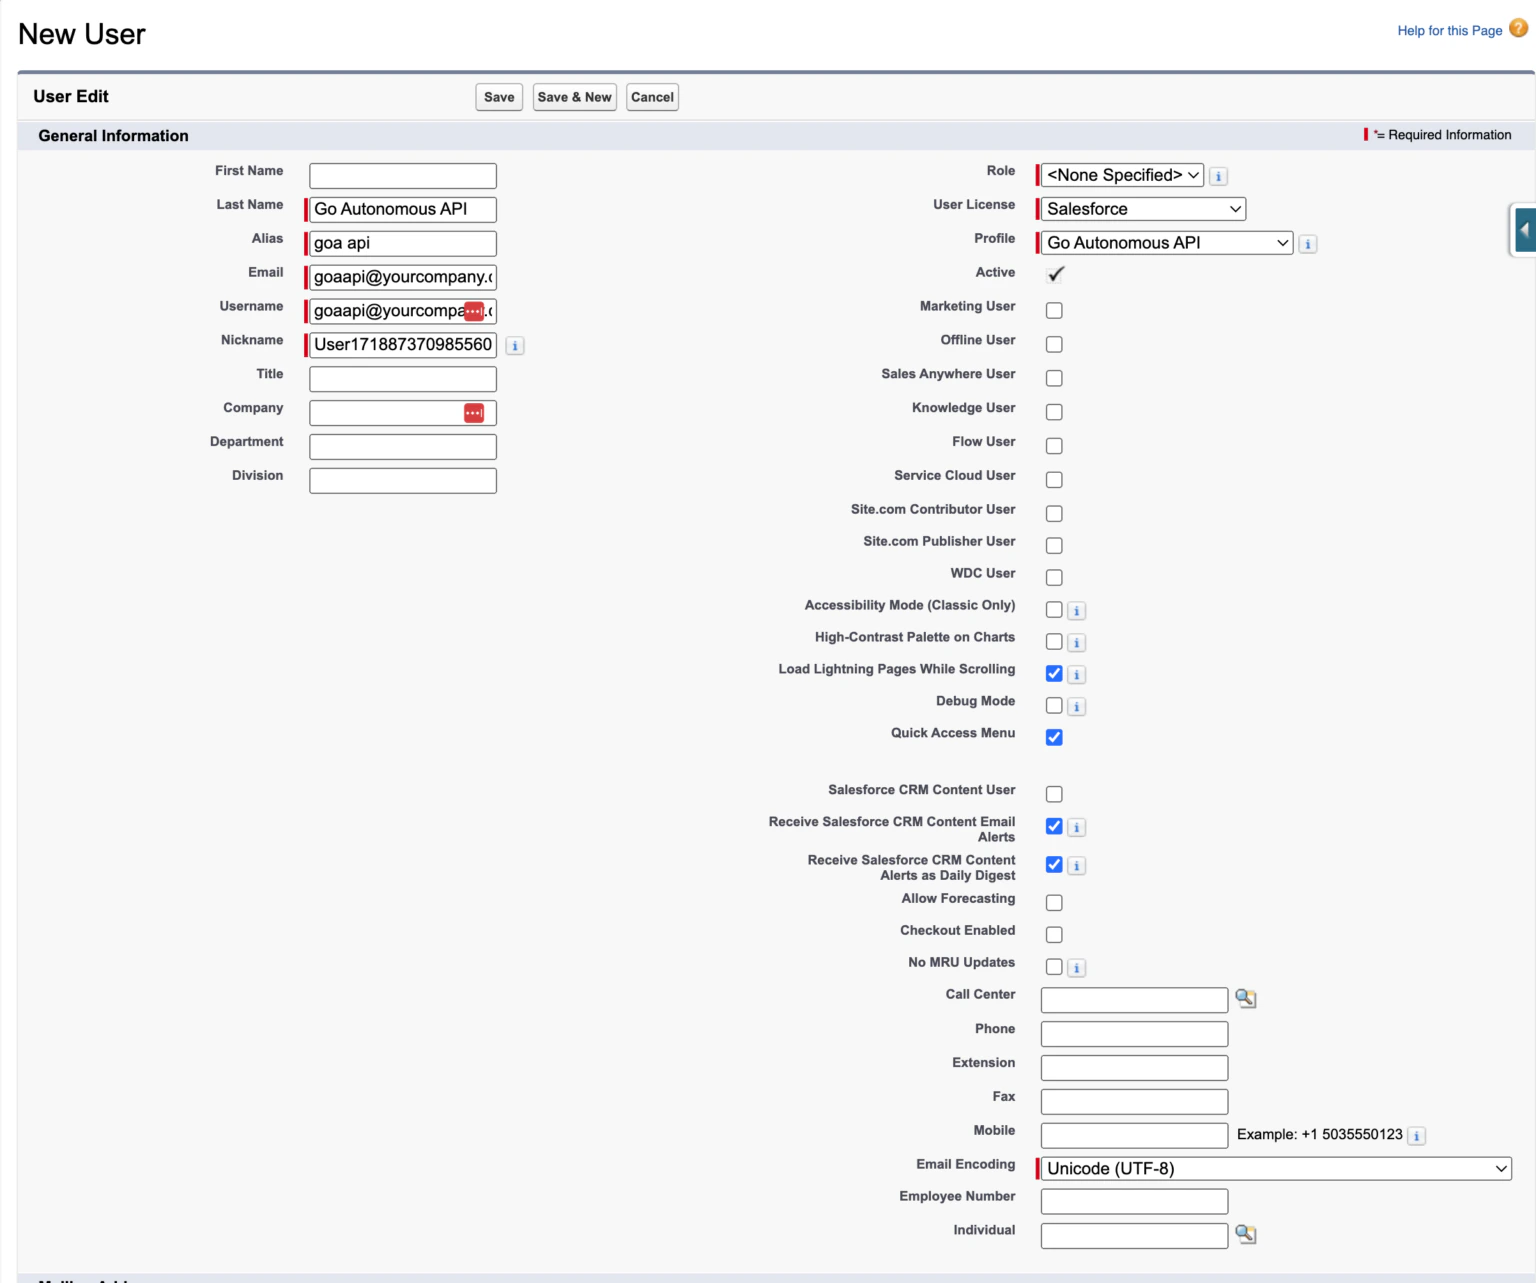
Configure the Connected App
Navigate to Platform Tools > Apps > App Manager. Find the Go Autonomous application, click the down arrow at the far right of the row, and press Manage.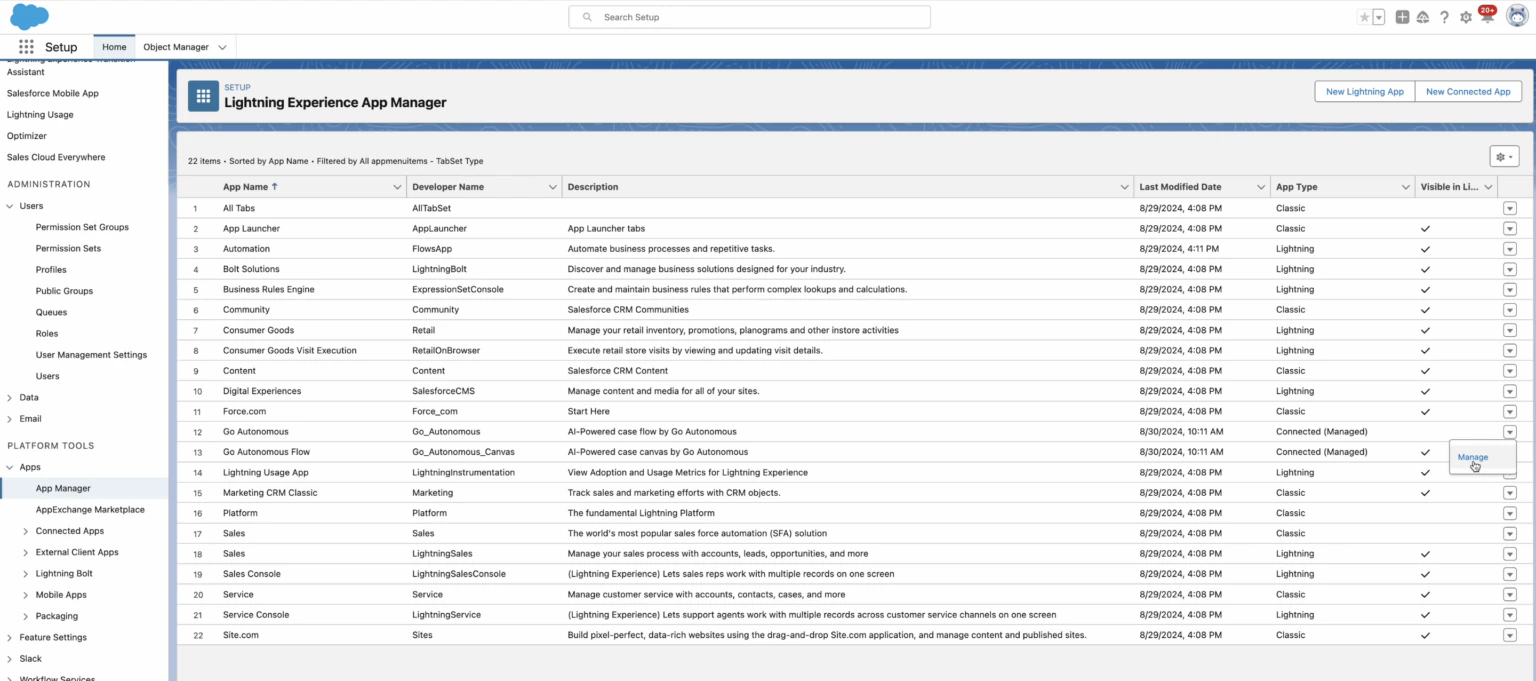
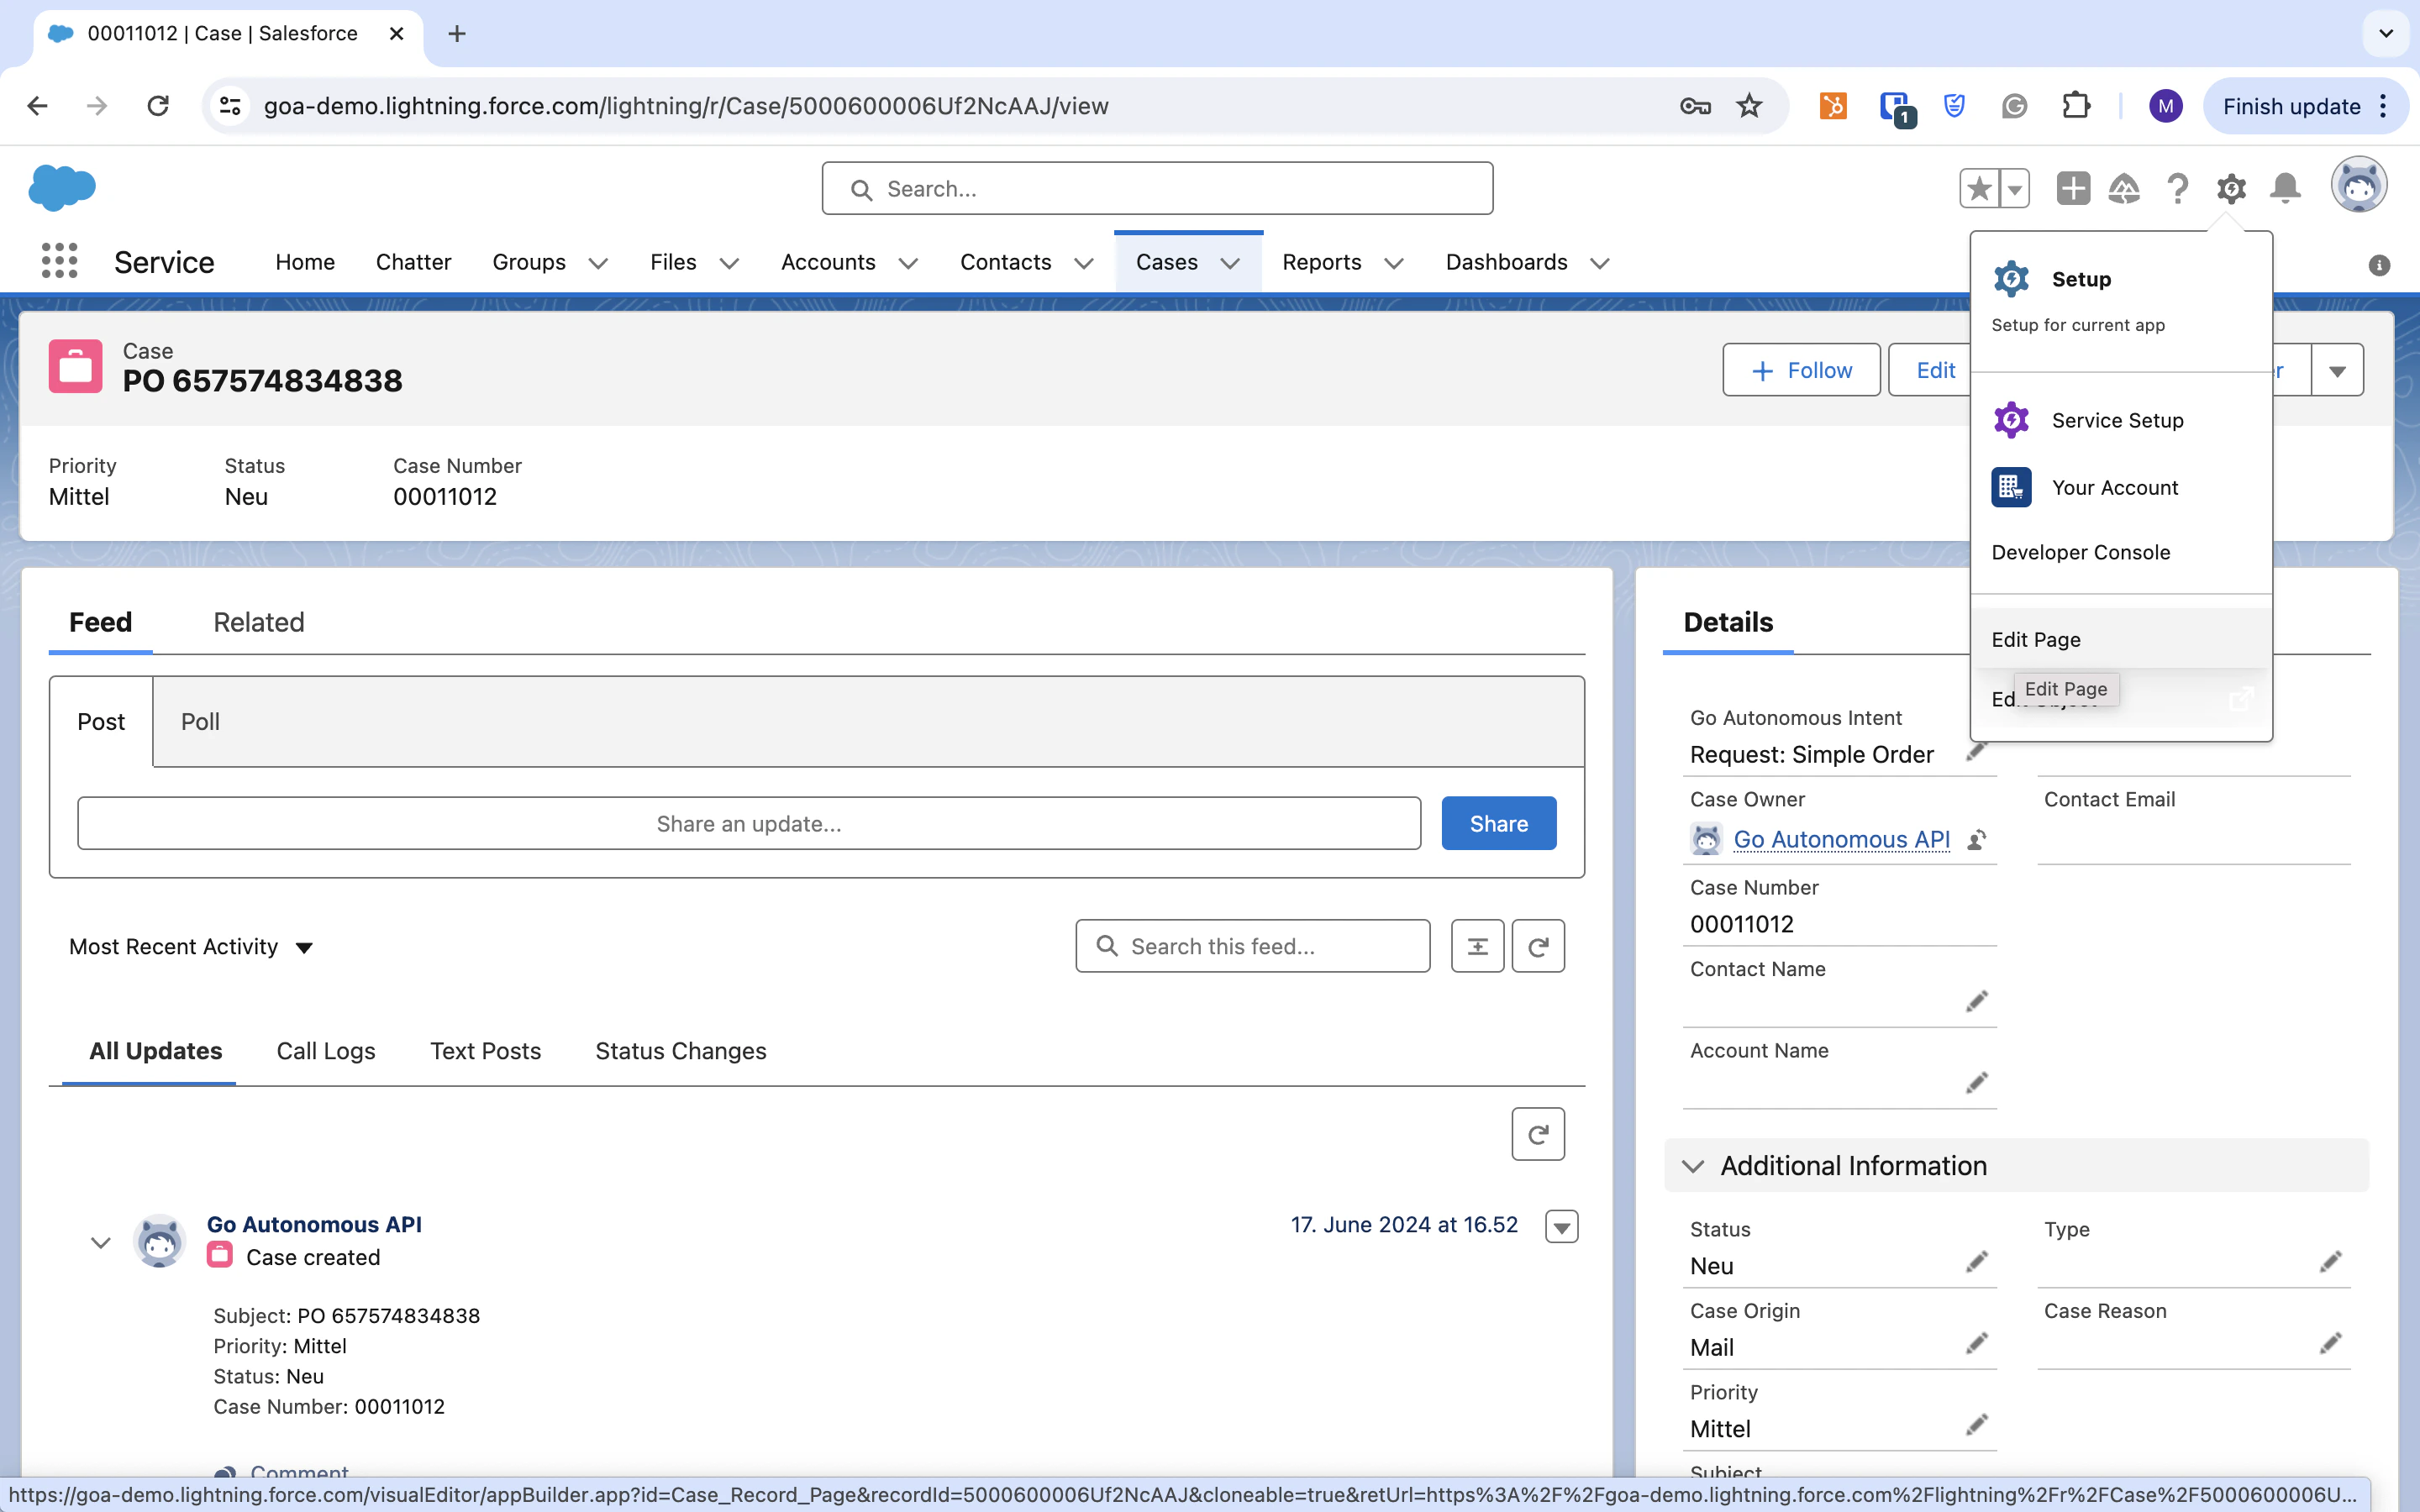
Set up the Salesforce page layout

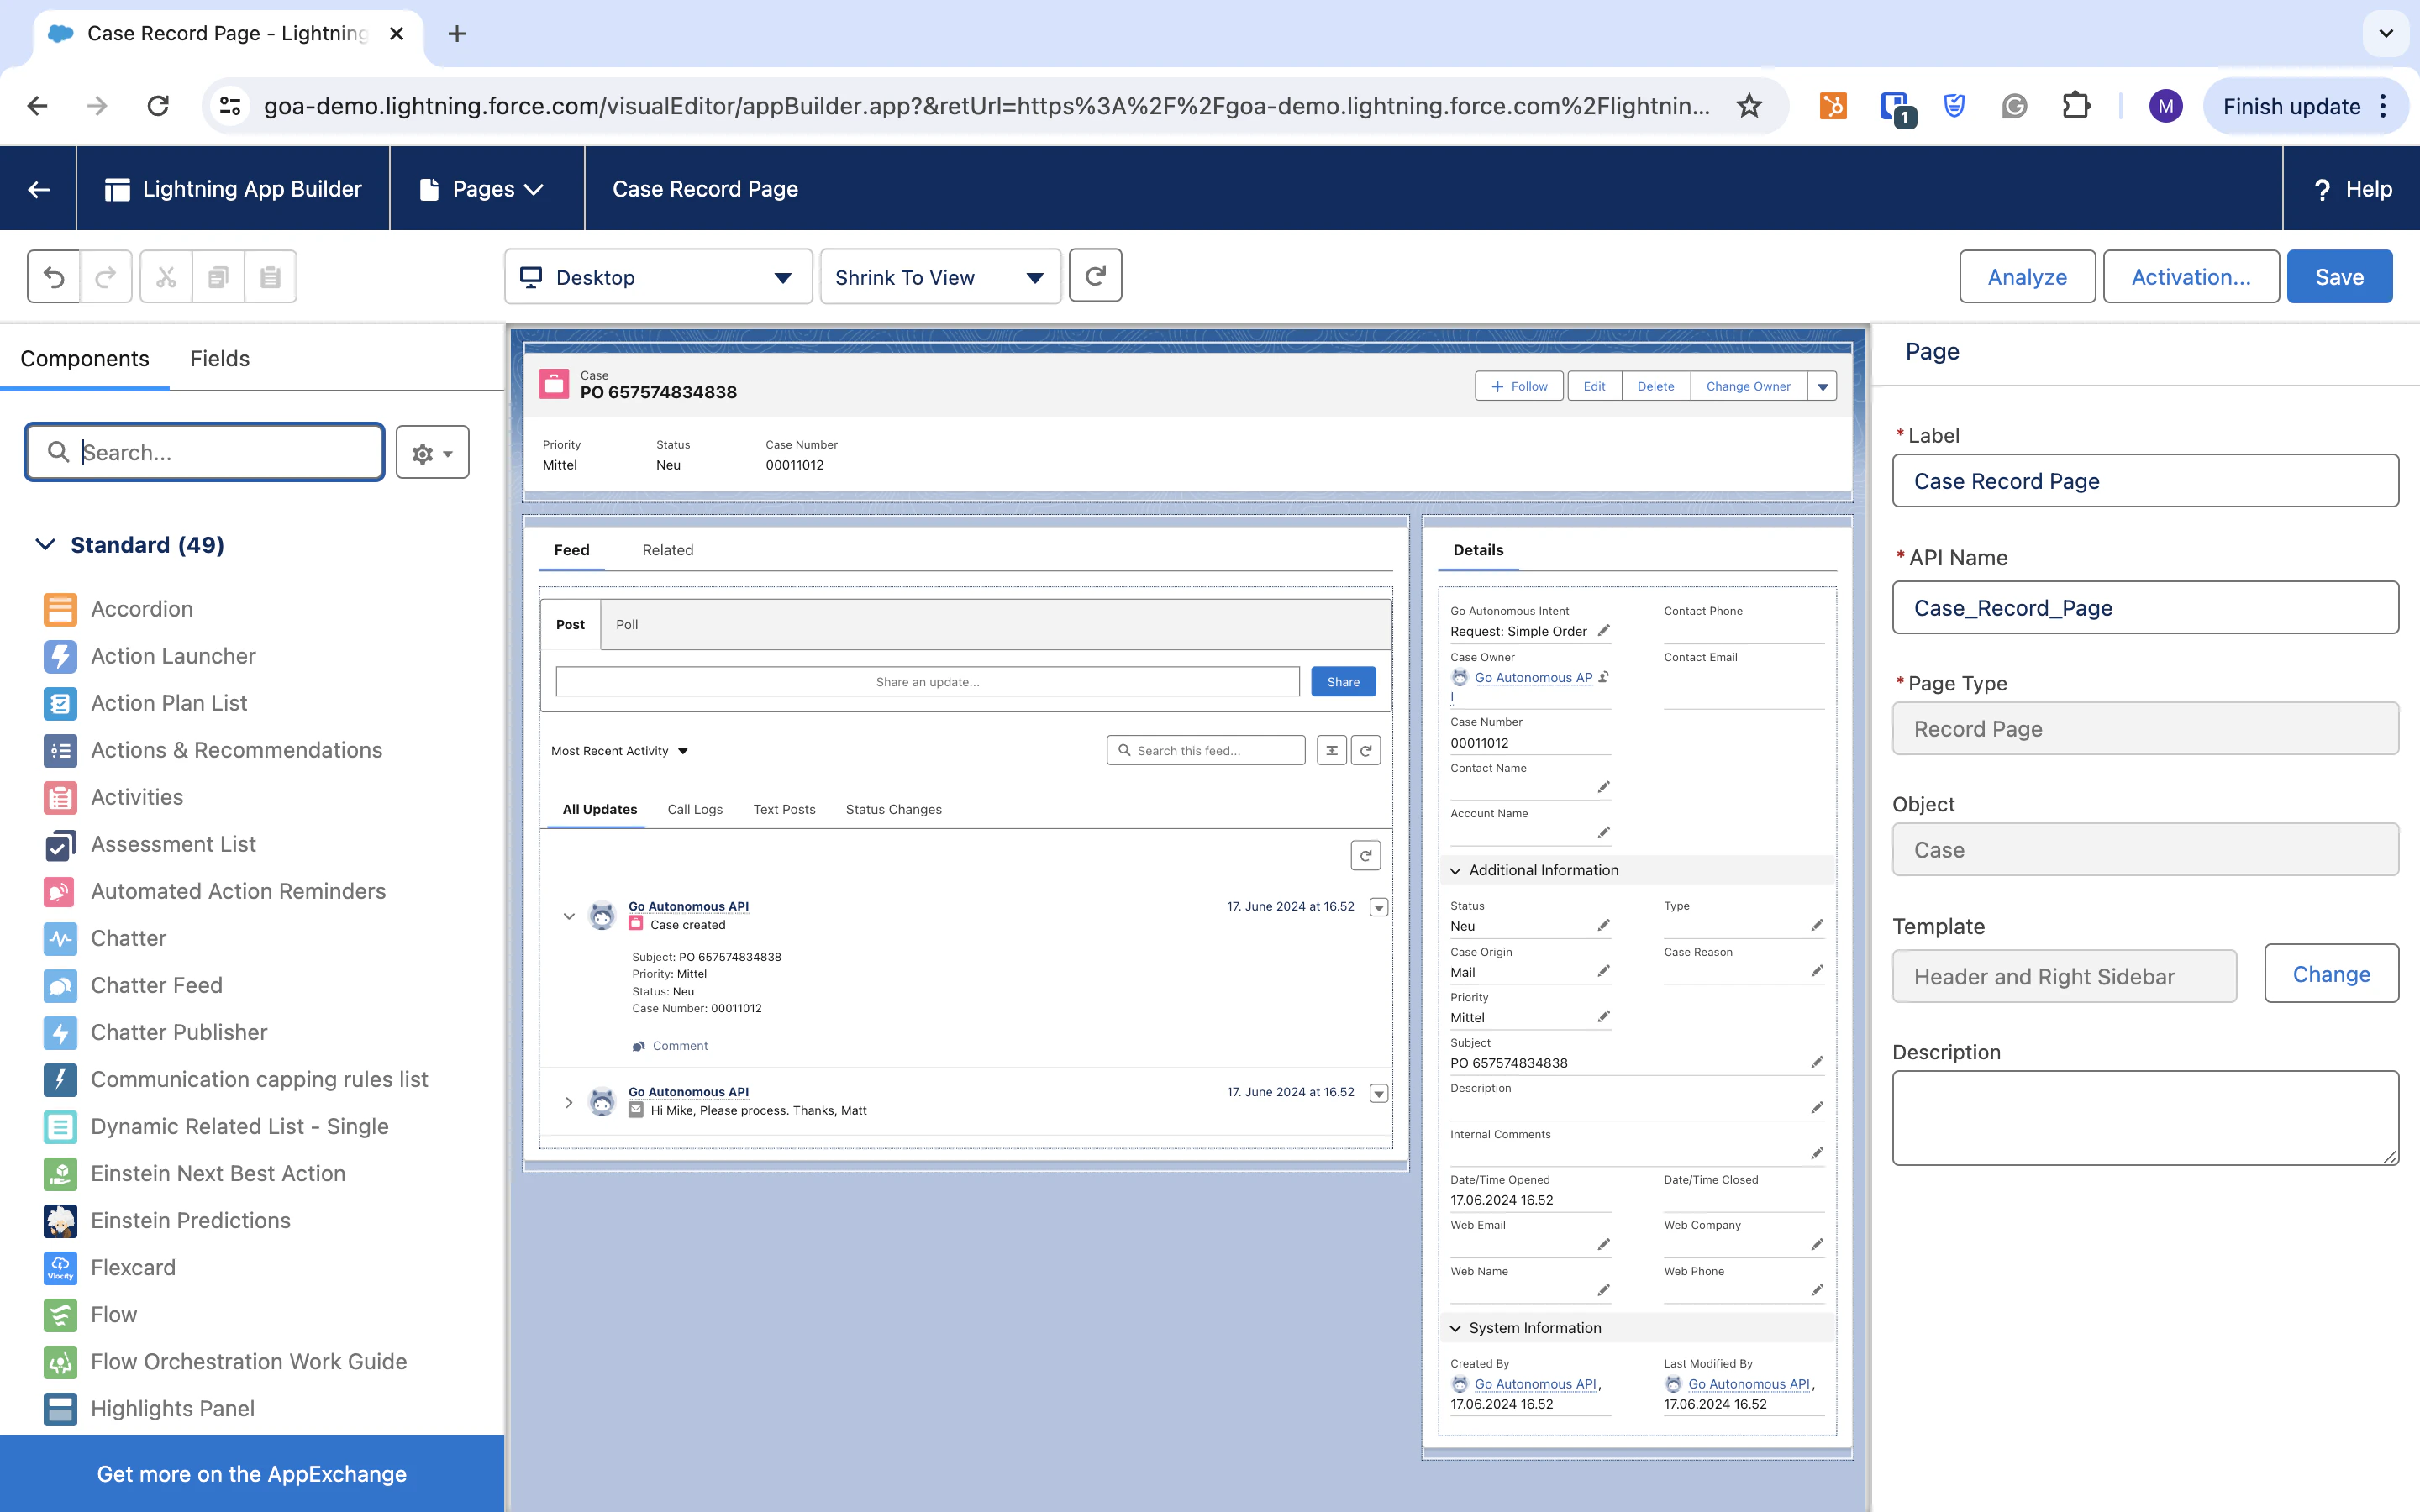
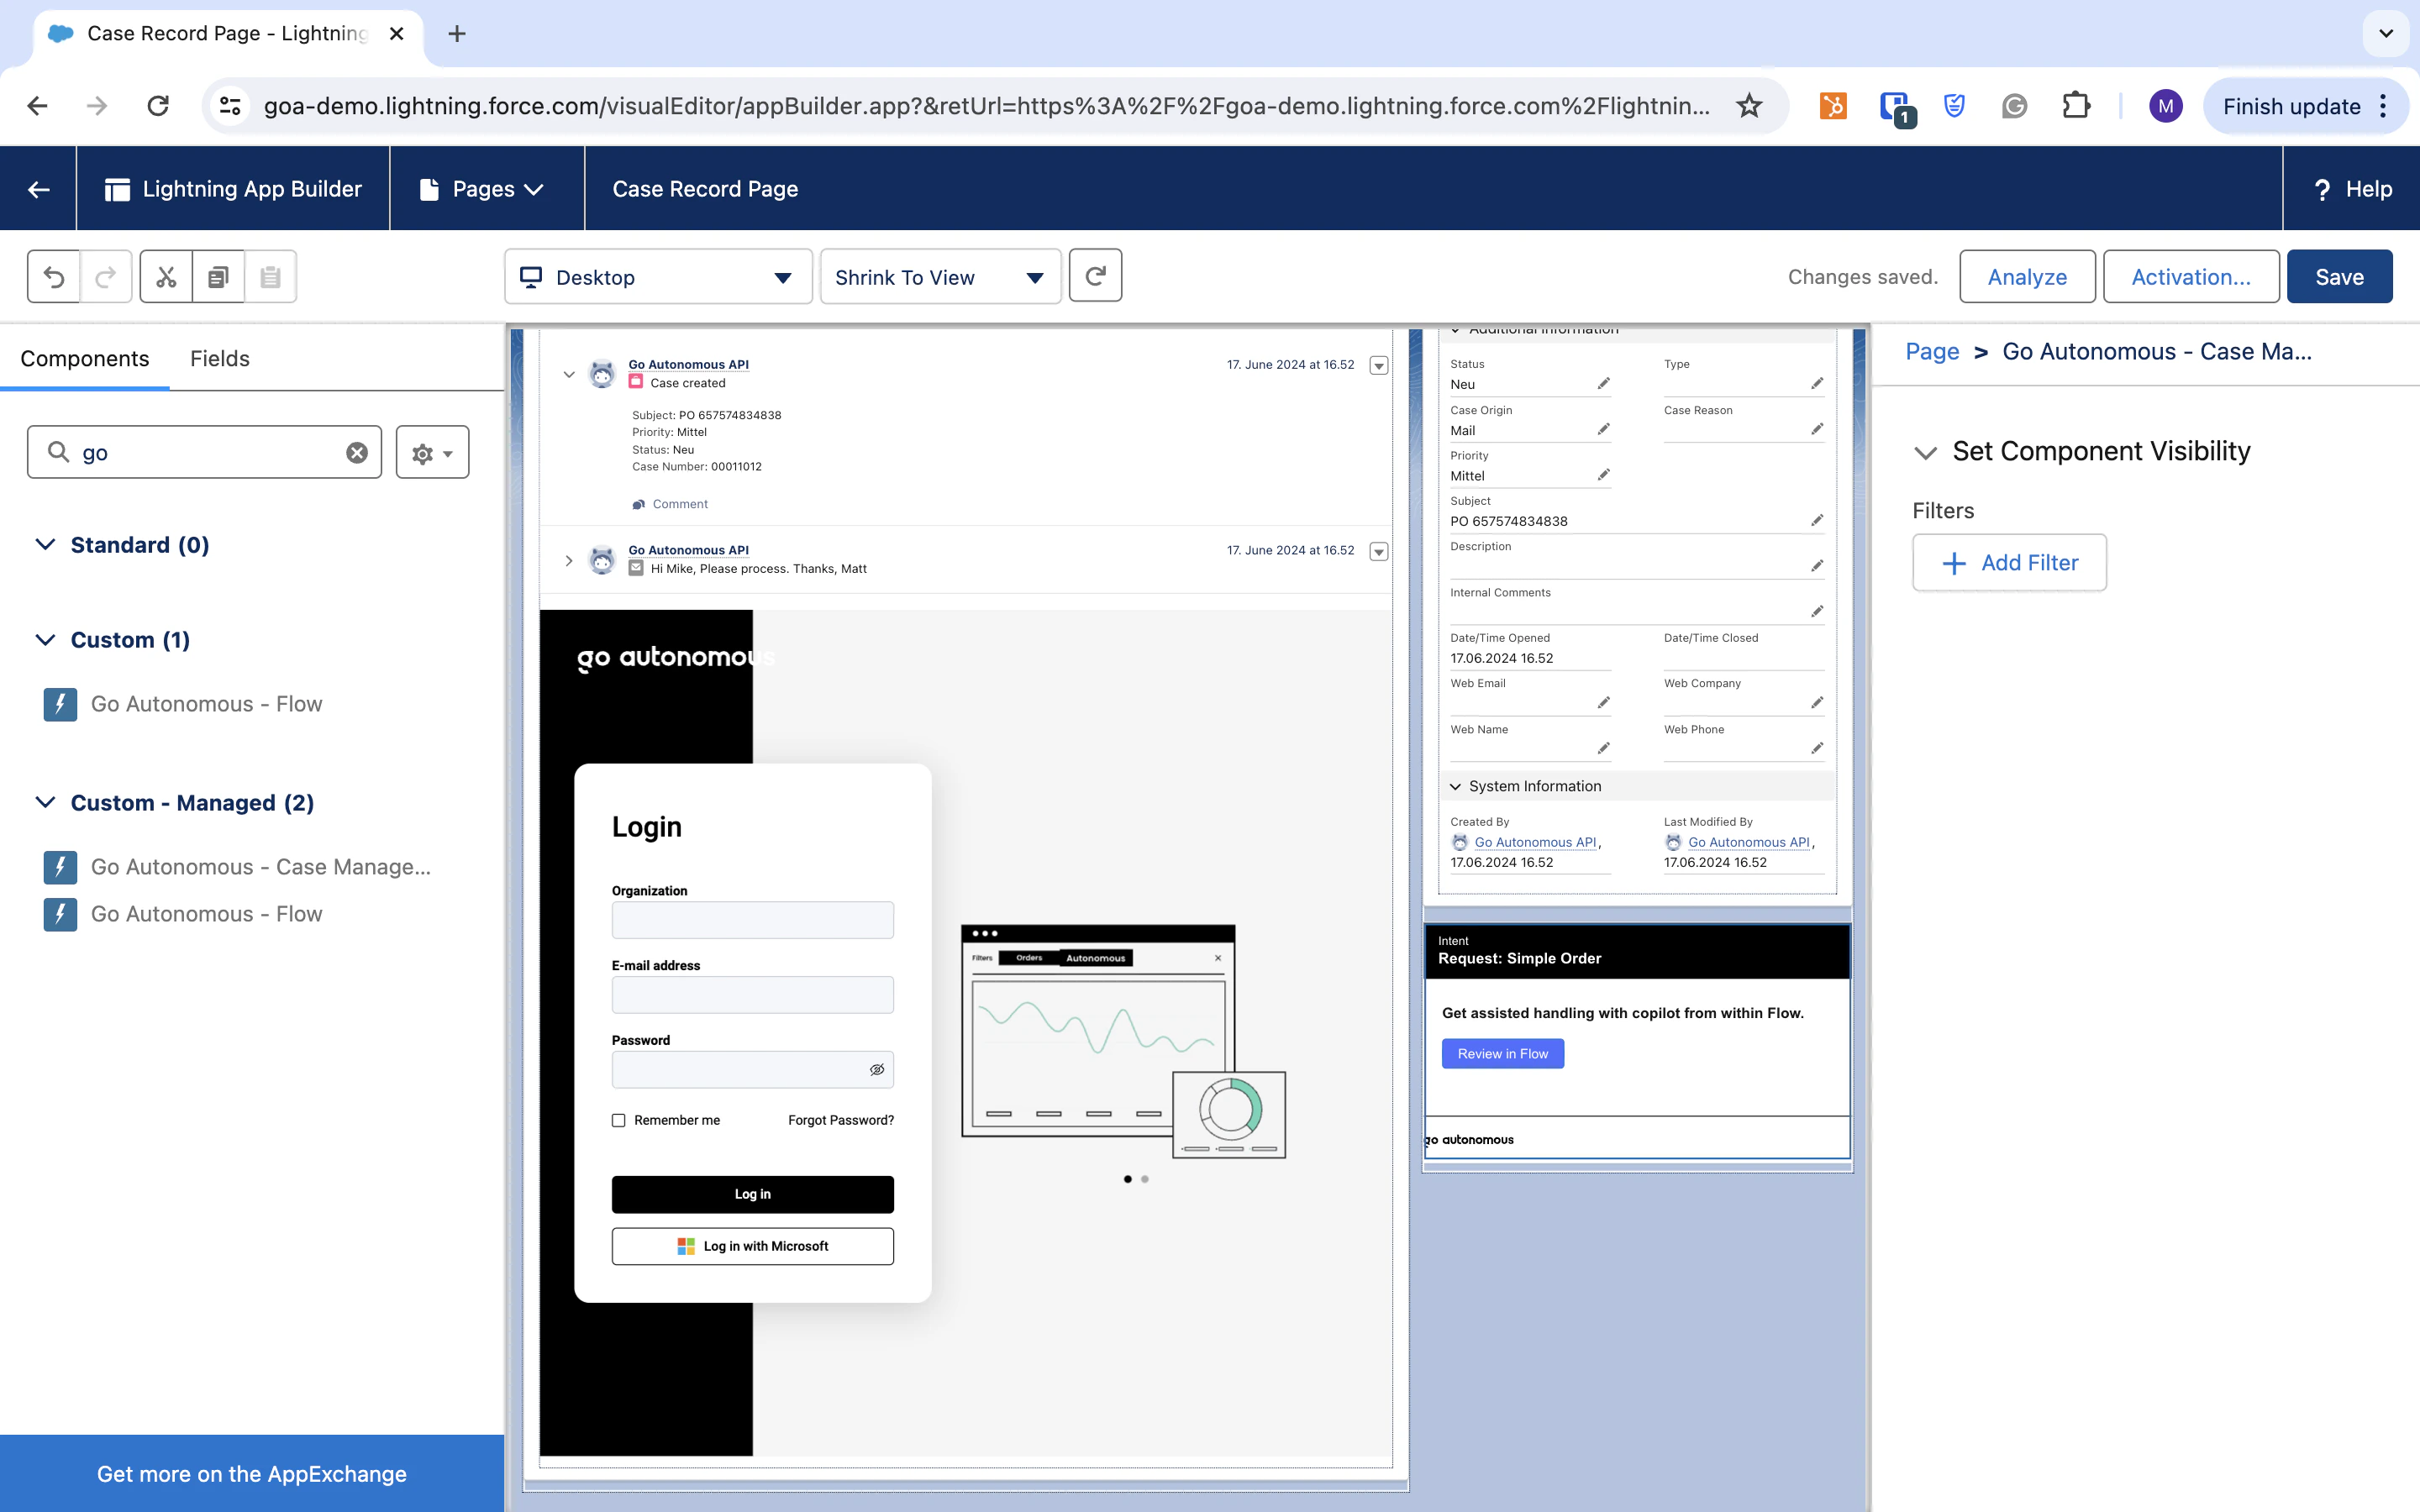
Locate the components
You’ll see Go Autonomous – Flow and Go Autonomous – Case Management listed under Custom – Managed.
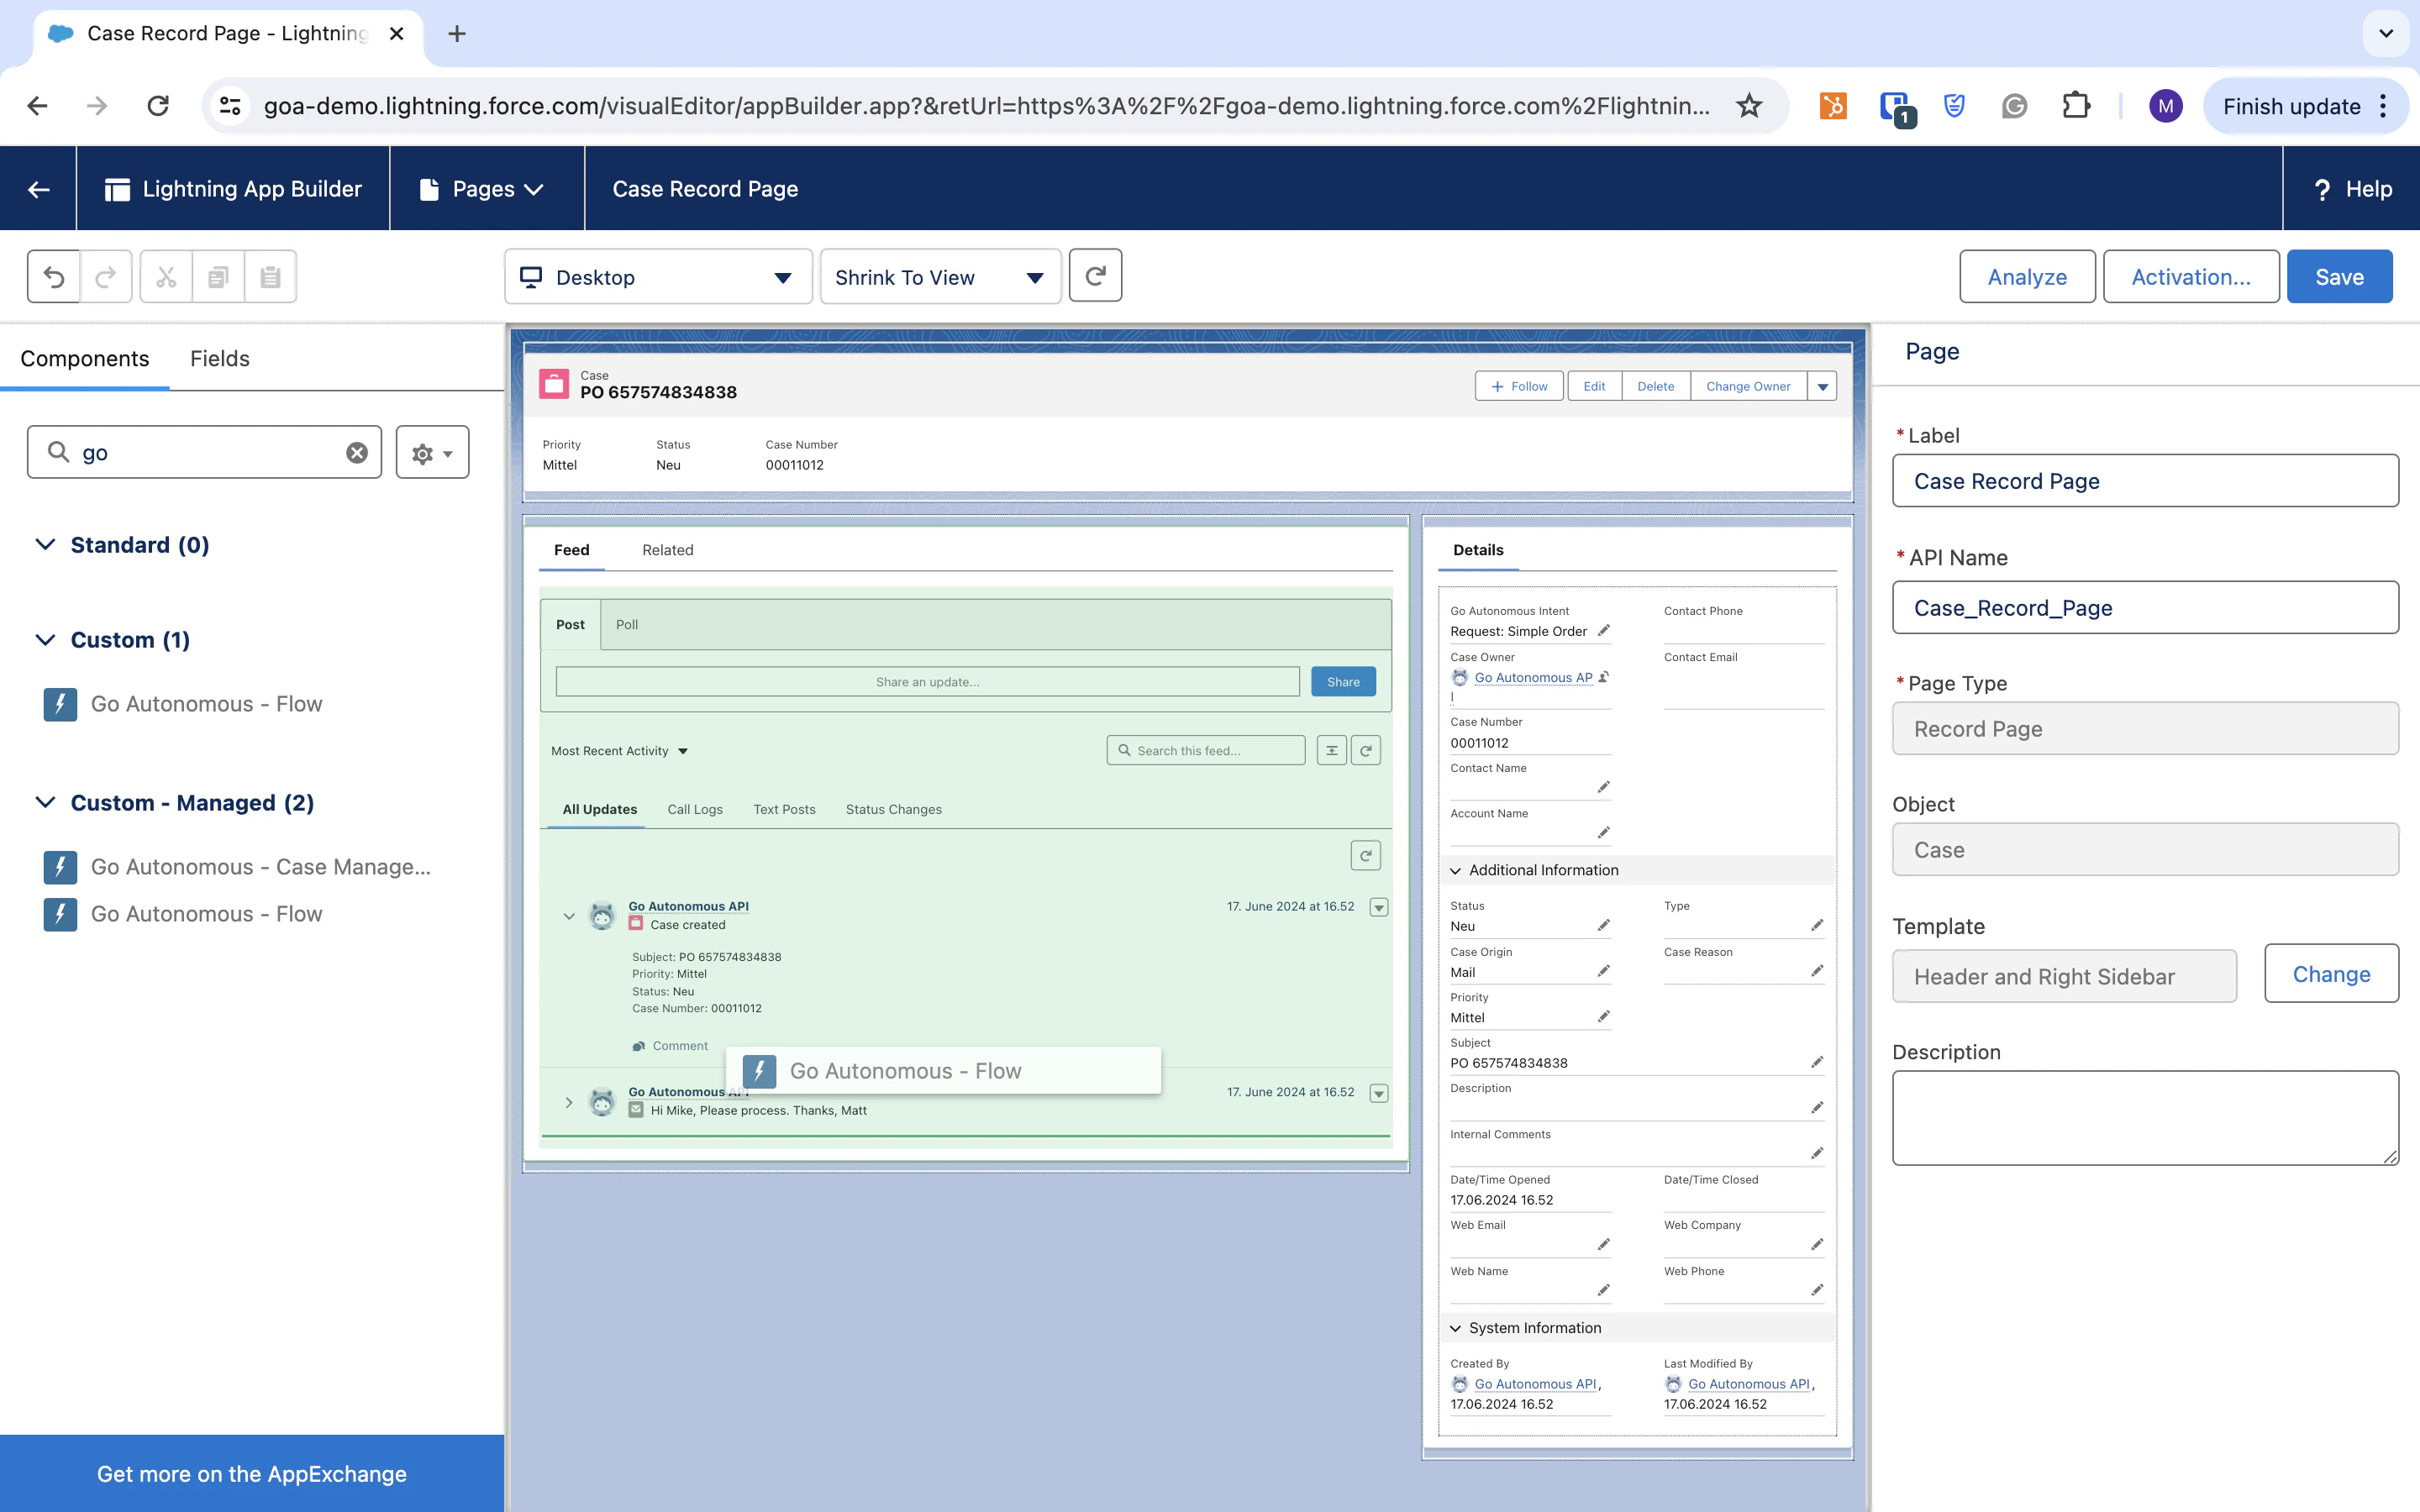
Add Go Autonomous – Case Management
Drag Go Autonomous – Case Management to the right side of the layout.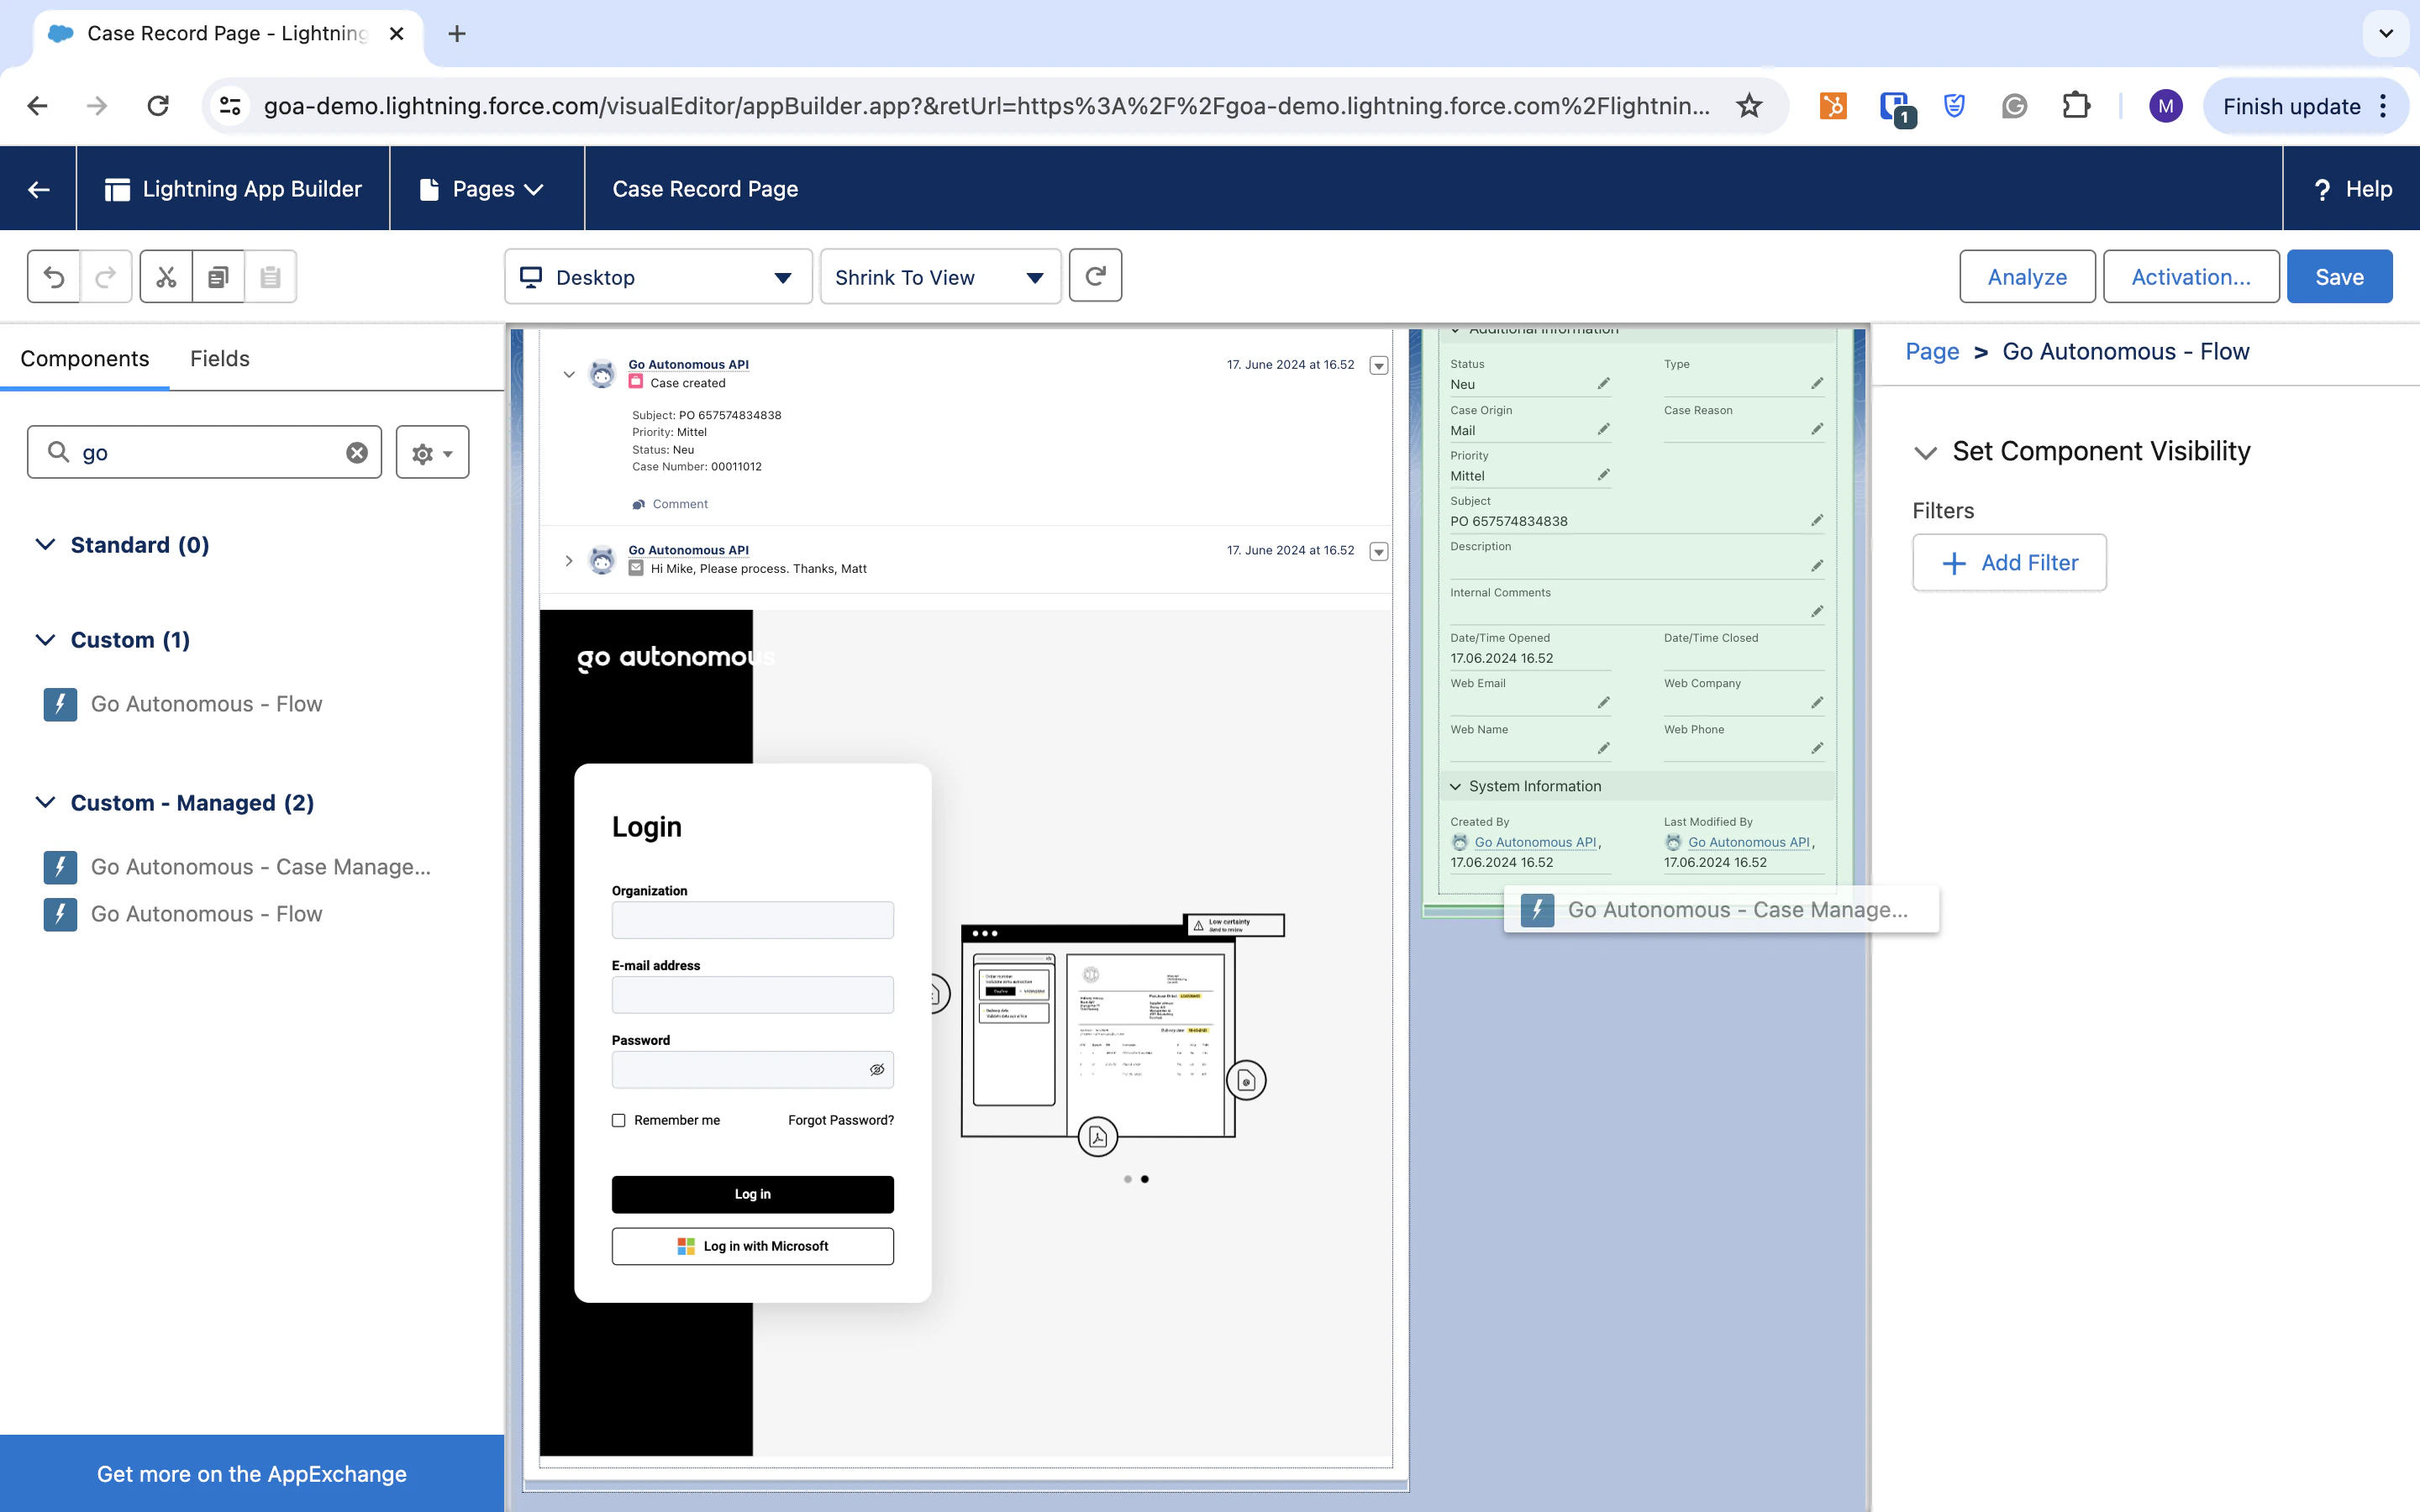
Configure the connector in Go Autonomous
Open Connectors
Log in to the Go Autonomous platform and navigate to Administration > Company Settings > Connectors.
Create a Salesforce connection
Find the Salesforce connector in the Available Connectors section. Give your connection a clear name (e.g., “Main Salesforce Org”), select either Case Creation or Case Enrichment depending on your desired functionality, and enter the custom domain URL for your Salesforce organisation.