Overview
Building a workflow in Pulse is a visual process. You drag nodes onto a canvas, connect them, configure each node’s behavior, and test the result — all without writing code.Create a new workflow
Click Create new workflow
Click the Create new workflow button in the top-right corner. A new workflow opens in the editor with an empty canvas.
The workflow editor
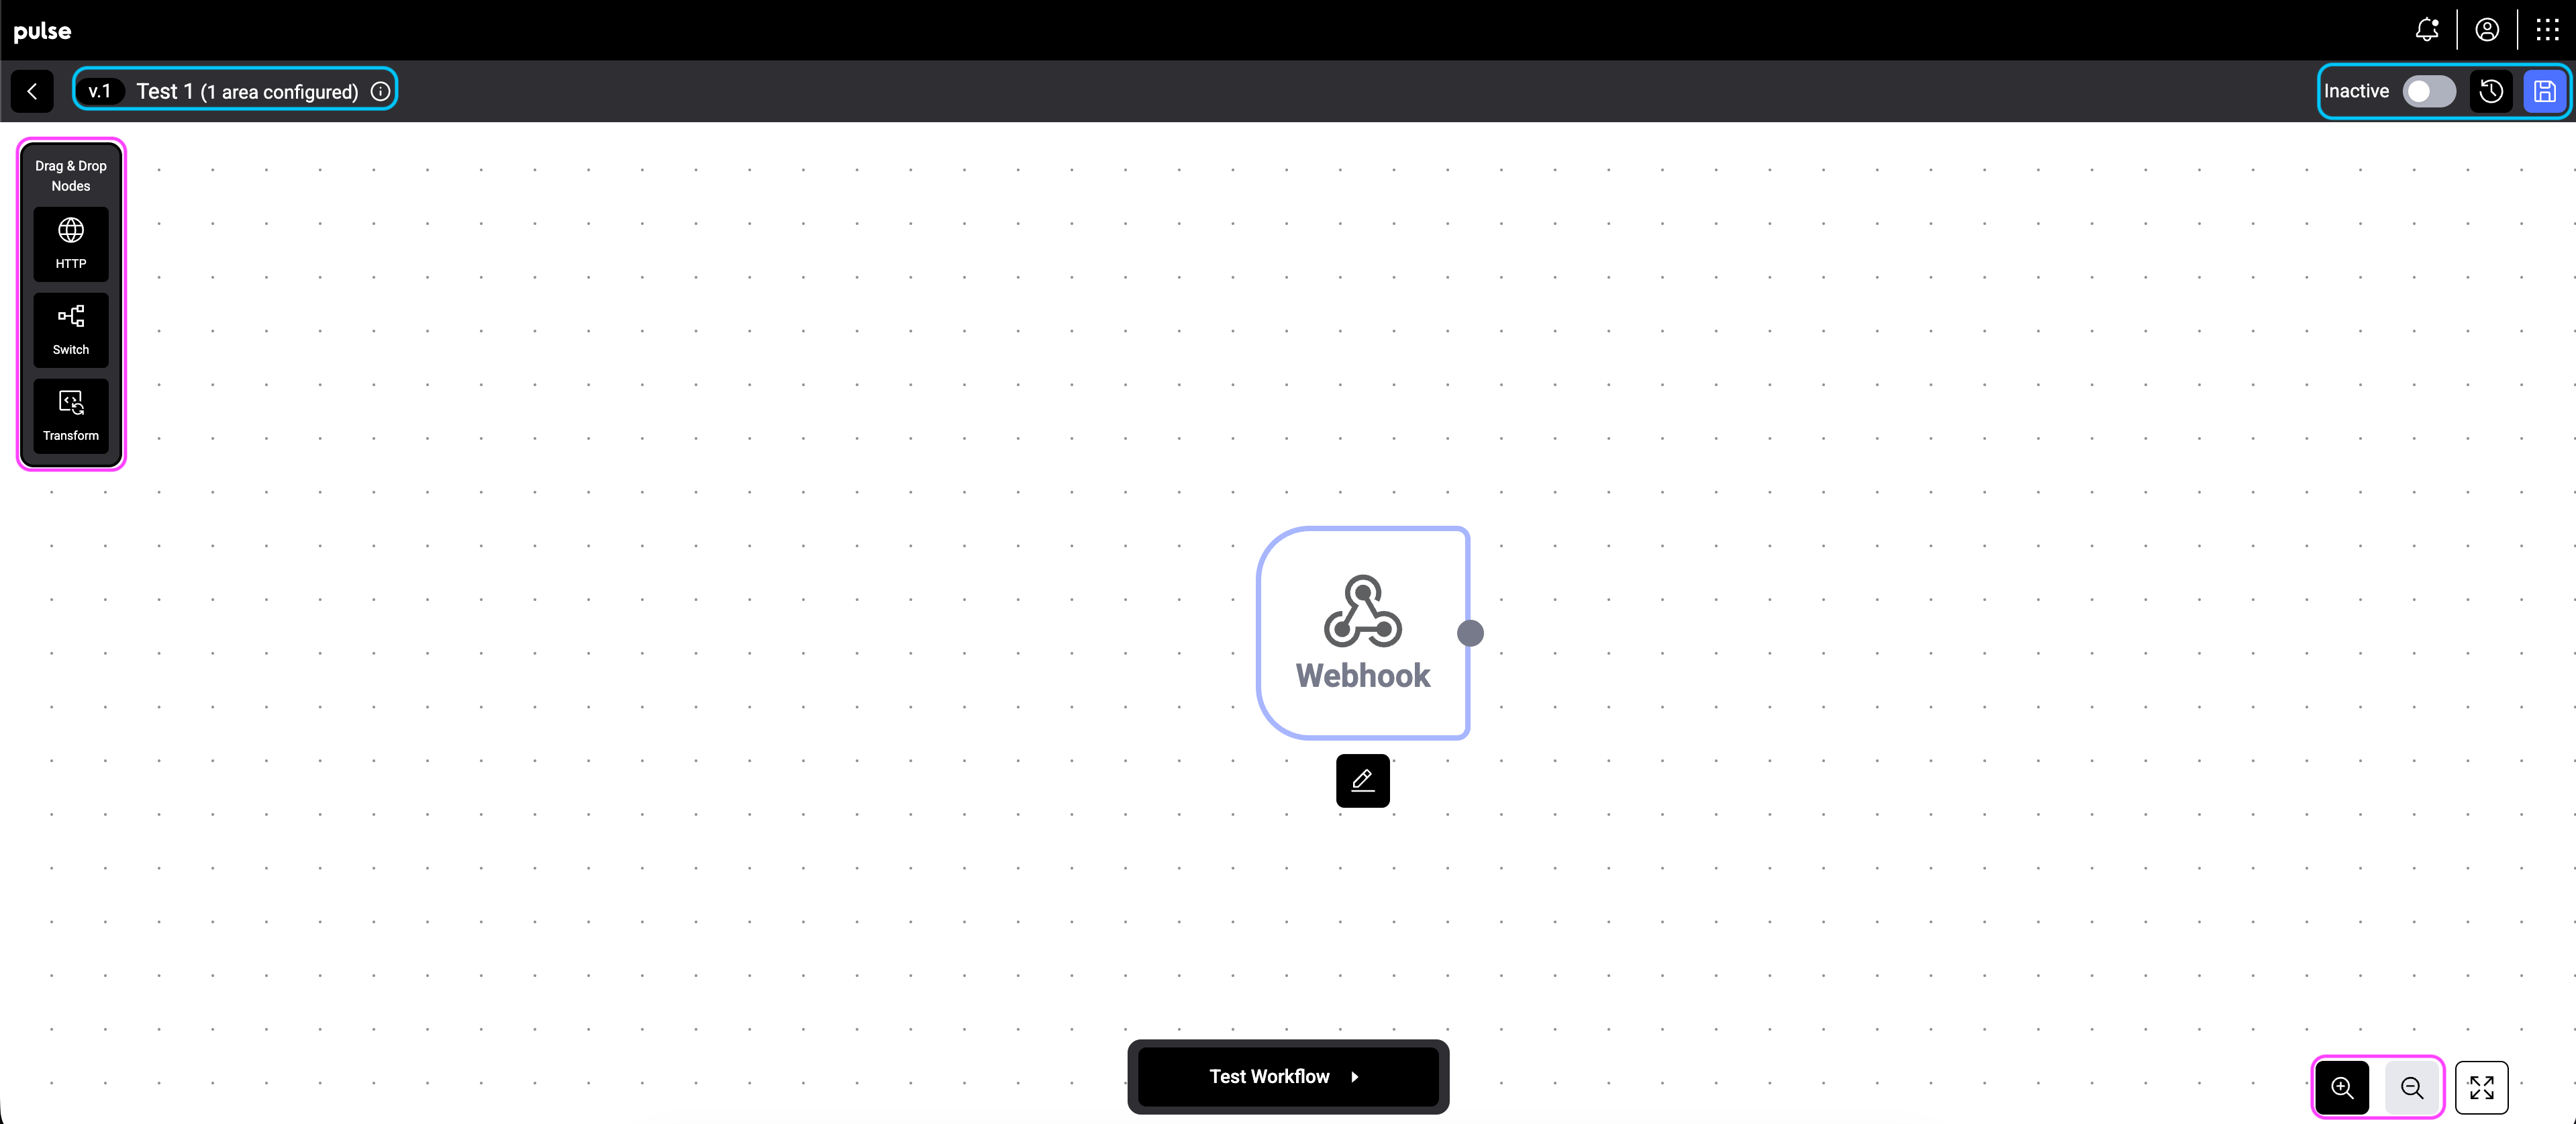
The editor consists of three main areas:- Node palette (left sidebar) — a list of available node types you can drag onto the canvas: HTTP, Switch, and Transform.
- Canvas (center) — the visual workspace where you build your workflow by placing and connecting nodes.
- Top bar — shows the workflow name, version number, area configuration, and the Active/Inactive toggle.
Zoom and navigation
Use the zoom controls in the bottom-right corner to zoom in, zoom out, or fit the entire workflow to screen. Click and drag on empty canvas space to pan around large workflows.Select multiple nodes
You can work with several nodes at once:- Shift-drag on empty canvas space to draw a selection box around the nodes you want.
- Shift-click individual nodes to add them to (or remove them from) the current selection.
Copy and paste nodes
Use standard keyboard shortcuts to duplicate parts of a workflow — even between two different workflows open in separate browser tabs:- Cmd/Ctrl + C — copy the currently selected nodes (and the edges between them) to the clipboard.
- Cmd/Ctrl + V — paste them at the cursor position. Pasted nodes get new IDs and are added to the current workflow.
Webhook nodes can’t be copied — every workflow has exactly one webhook, and it’s added automatically when you create a new workflow.
Custom components
A custom component is a reusable group of nodes that you’ve saved to your tenant’s library. Use components to share common patterns — like an “enrich + validate + route” sub-flow — across many workflows without rebuilding them by hand.Save a selection as a component
Select the nodes you want to package
Shift-drag or shift-click to select two or more connected nodes. The selection toolbar appears.
Click Save as component
Give the component a clear name and pick an icon. If a component with the same name already exists, you’re asked whether to overwrite it.
Components don’t include webhook nodes. To turn a selection into a component, make sure the webhook isn’t part of it.
Add and connect nodes
Drag a node from the palette
Click and drag a node type (HTTP, Switch, or Transform) from the left palette onto the canvas.
Connect nodes
Drag from the output port (the dot on the right side of a node) to the input port (the dot on the left side of another node) to create a connection.
Configure the node
Double-Click on a node to open its configuration panel. Set the node’s parameters — these vary by node type (see below).
Node types
Webhook
The webhook node is the starting point of your workflow. It defines what triggers the workflow — for example, when a new request is received or when a specific intent is detected. Every workflow starts with a webhook.Switch
The switch node routes data along different paths based on conditions. You define rules — for example, “if the intent is Order, go to Path 1; if the intent is Quote, go to Path 2.” Each output path is labeled so you can track the logic.Transform
The transform node modifies data as it passes through. Use it for calculations (e.g., price checks), data formatting, field mapping, or any processing step before data reaches its destination.HTTP
The HTTP node makes API calls to external systems. Use it to send data to your ERP, query a pricing service, or trigger actions in other tools. Configure the URL, method, headers, and payload.Test your workflow
Before activating a workflow, use the Test Workflow button at the bottom of the canvas. This sends sample data through the workflow and shows you the result at each node — so you can verify the logic works correctly before it handles real requests.Activate and manage
- Active toggle — use the toggle in the top bar to turn the workflow on or off. Active workflows process matching requests automatically.
- Version history — the version number (e.g., v.2) in the top bar shows the current version. The history icon lets you review previous versions.
- Save — click the save icon to persist your changes.
Workflows process requests that match their trigger conditions and area configuration. Make sure your area assignments are correct before activating a workflow.